Dry It Without Destroying It: Water Damage Restoration in Princeton NJ
Cal HewittPublished
- water damage restoration
- water damage
- restoration
- new jersey
- princeton
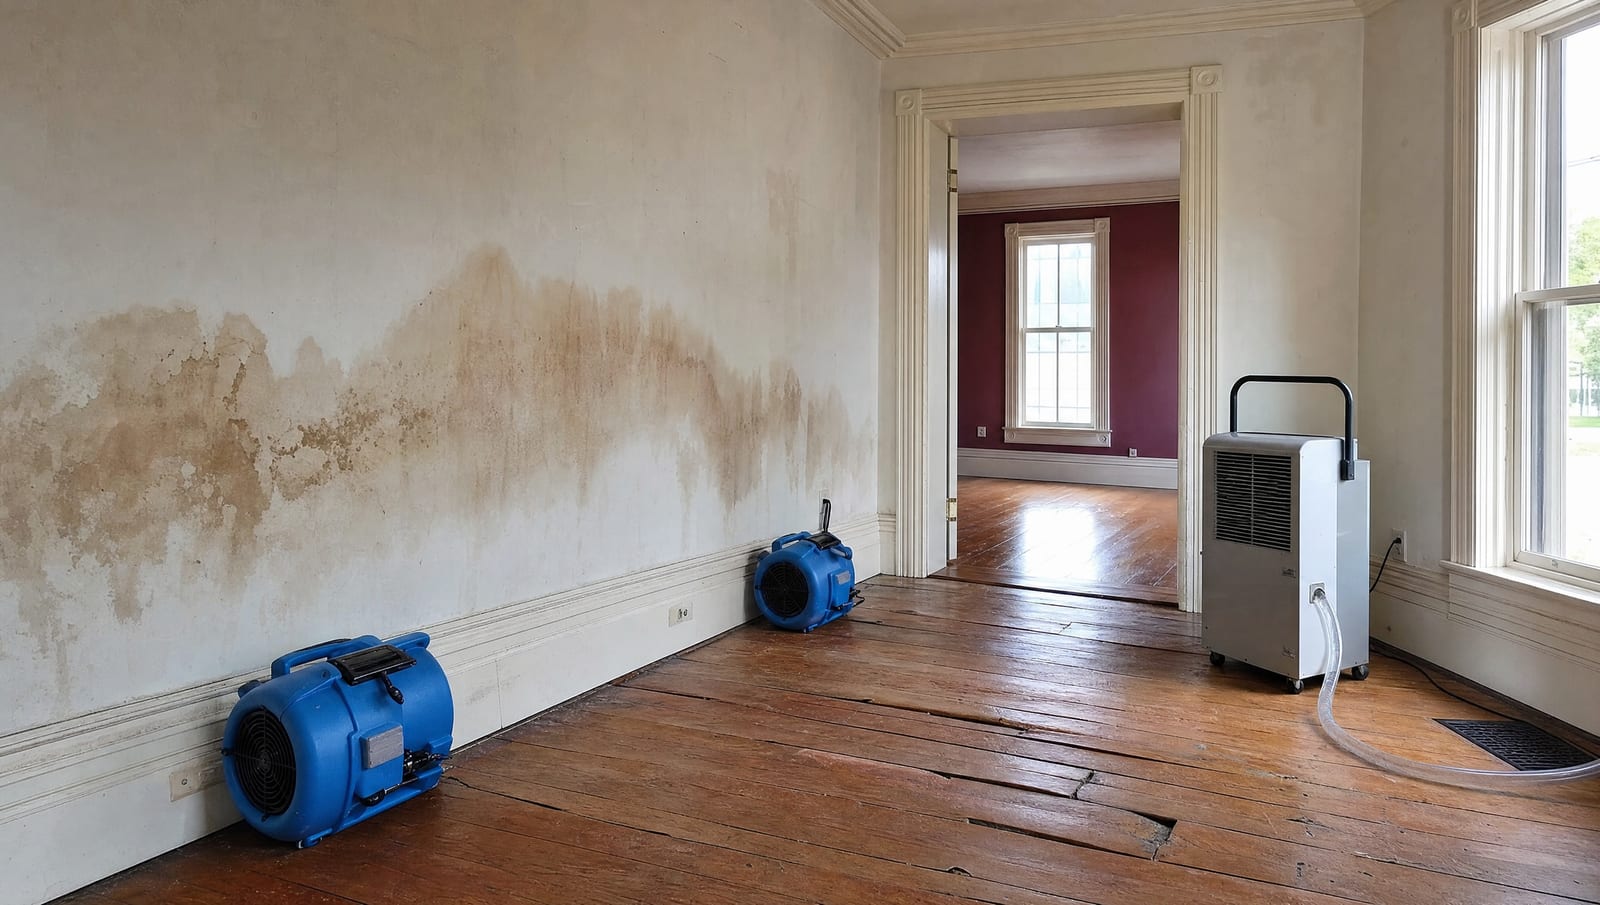
Picture a center-hall home a few blocks off Nassau Street. The plaster walls have stood for more than a century, the oak floors were laid by hand, and the dining room still carries its original millwork. Then a slow roof leak, or a supply line that lets go behind a wall, sends water down through all of it and into a newer finished addition off the back. Now there is wet plaster, cupping hardwood, soaked trim, and modern drywall in the addition, all at once, and every one of those materials wants a different answer.
That is the water damage question that really matters in Princeton. It is not only how fast you can get the water out. It is how you dry and restore a high-value or historic interior quickly without tearing out plaster, floors, and woodwork that cannot be replaced. Speed and preservation can sound like opposites. They are not. Handled correctly, fast extraction is exactly what makes preservation possible, because the sooner a material stops sitting in water, the better its odds of being saved.
Fast Action and Selective Demolition Are Not Opposites
The instinct after a big leak is to rip everything wet out of the way. On a modern tract home, that instinct is not always wrong. On a Princeton home built across several construction eras, it can destroy value that no rebuild can bring back. The better approach treats every wet material as a decision, not an automatic removal.
It helps to sort what got wet into three groups. The first is materials that can often be dried in place, such as solid masonry, some original plaster, and structural framing. The second is materials that need selective opening or a specialist, where a wall or floor is carefully accessed so the cavity behind it can dry, rather than demolished wholesale. The third is materials that have to come out because they are contaminated, structurally failed, or simply cannot be dried in time, such as saturated fiberglass insulation or carpet pad.
Fast action is what keeps as much as possible in the first two groups. Water sitting for days pushes materials into the third group. So moving quickly is not the enemy of preservation. Waiting is.
How Water Travels Through Plaster, Masonry, Hardwood, and New Additions
Water does not stay where you first see it. It follows gravity and the path of least resistance, and in an older Princeton home those paths cross very different materials. A leak that starts at a roof valley can run along framing, wick into wood lath, darken plaster far from the entry point, and finally show up as a stain on a ceiling one or two floors down. If your loss came from a plumbing failure or a winter freeze, the same hidden travel applies, which is why the Princeton burst pipe cleanup guide treats the visible puddle as only the starting point.
Each material also holds and releases moisture on its own schedule. Old masonry and lime mortar absorb water slowly and give it back slowly, and a modern coating or newer finish applied over that masonry can trap moisture against it. Plaster on wood lath can hold water in the lath long after the surface feels dry. Solid hardwood can cup or crown as the underside takes on moisture the top side cannot shed. And the newer finished addition off the back behaves like any modern build, with drywall paper and insulation that soak fast and fail early. When one loss touches all of these at once, no single drying setting fits the whole house. That is the core of preservation-sensitive restoration.
It is also worth remembering that flood exposure varies by parcel in Princeton. Proximity to Stony Brook, Harry's Brook, or Lake Carnegie does not tell you what a specific property faces, and groundwater or stormwater intrusion is a different problem from a clean interior leak. A home near heavy rain runoff may deal with a repeat basement issue that the Princeton basement flooding guide covers in detail, while the historic interior above it needs the careful, material-by-material handling described here.
What Moisture Mapping Reveals Before Anyone Opens a Wall
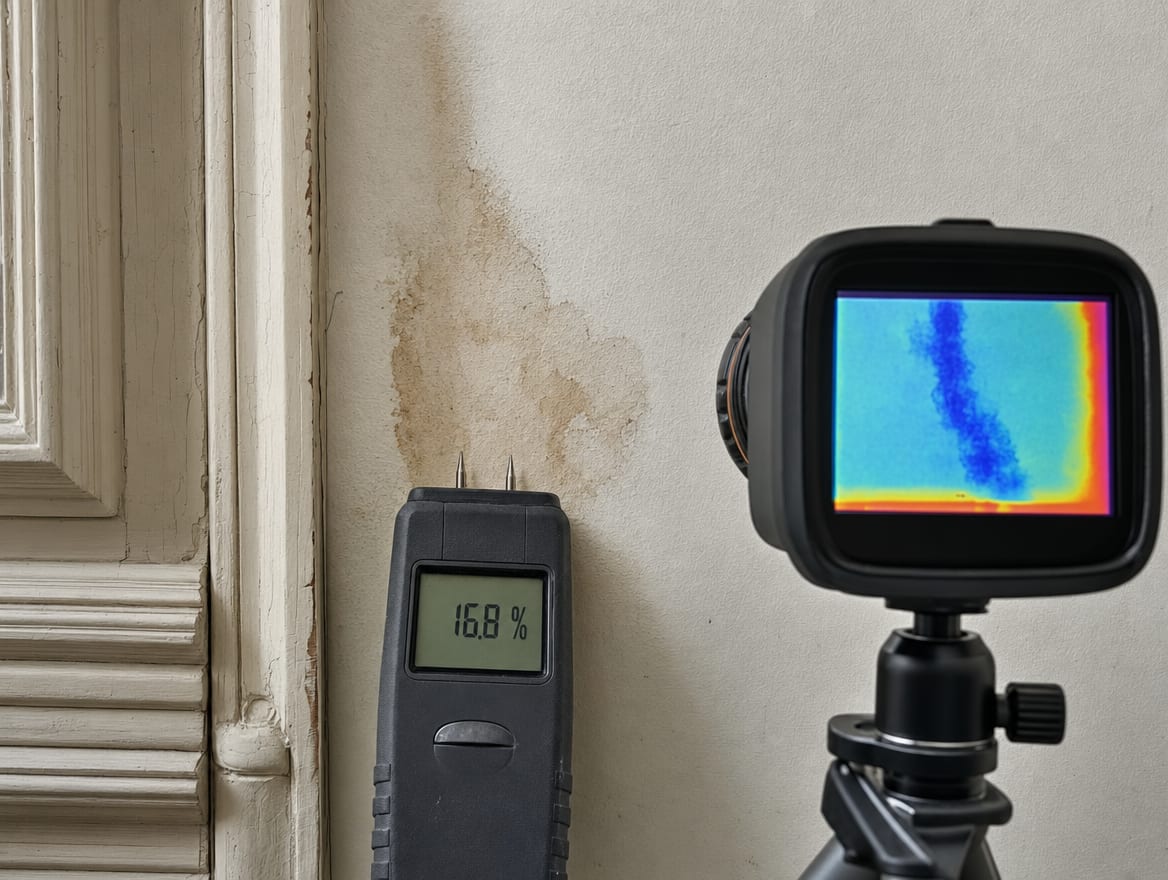
Before any demolition, the restoration team should map the moisture. Moisture meters read how wet a material actually is, and thermal imaging shows temperature differences that point to hidden water inside walls, ceilings, floor assemblies, and cavities. The goal is to see the true footprint of the loss instead of guessing from the stain on the surface.
This matters most in a historic home, because mapping is what lets a crew open only what has to be opened. Instead of removing a full plaster wall, a technician who knows the wet cavity sits behind a two-foot section can make a small, controlled opening to dry it and leave the rest intact. Mapping also catches the traps: paint, flooring, and finished surfaces that feel dry while the subfloor, insulation, or masonry behind them is still holding water. A map made on day one, and repeated as drying continues, is the difference between a targeted repair and a demolition that goes further than the damage did.
The table below shows how those readings translate into salvage groups. It is a general guide, not a verdict on any one home, because water category, duration, and construction all change the answer.
Hover or tap a row to highlight it.
| Material | Often dries in place | Needs specialist opening | Usually removed |
|---|---|---|---|
| Original plaster on wood lath | Yes, when caught early and the water is clean | When the cavity or lath behind stays wet | If delaminated, crumbling, or contaminated |
| Solid hardwood flooring | Sometimes, with floor drying systems | Boards may be lifted to dry the subfloor | If badly cupped or contaminated beyond recovery |
| Masonry and stone foundation | Usually, releasing moisture slowly | When a newer coating traps moisture against it | Rarely; the finish is more often the issue |
| Custom millwork and built-ins | Often, dried carefully in place | Trim pulled to dry the wall behind, then reset | If swollen apart or contaminated |
| Modern drywall in an addition | Small, clean, quickly caught areas | Controlled flood cuts to dry the cavity | When saturated or hit by dirty water |
| Fiberglass or foam insulation | Rarely holds up once soaked | Not typically salvaged by opening | Usually removed and replaced when wet |
| Carpet and pad | Surface carpet sometimes, by category | Lifted to dry the subfloor beneath | Pad usually removed; carpet depends on the water |
How Water Category Changes What Can Be Saved
Not all water is equal, and the category of the water often decides whether a material stays or goes. Clean water from a supply line is the most forgiving. Water that has picked up contaminants, and grossly contaminated water such as sewage or long-standing floodwater, carry health risks that push porous materials toward removal no matter how historic they are.
So the same wet plaster wall might be dried and saved after a clean supply leak, and removed after a sewage backup, because the contamination cannot be safely dried out of a porous material. Duration works alongside category. A material caught in hours has better odds than the same material soaked for days, since time lets water spread deeper and, once you pass the drying window, invites mold. When water is actively pooling, the first move is professional emergency water extraction to stop that clock, followed by the category assessment that guides every salvage call after it. Honest restoration means telling you which materials the water category allows you to keep and which it does not, rather than promising to save everything.
The Restoration Sequence, Step by Step
A preservation-minded water damage job still follows a clear order. Each step feeds the next, and skipping one is where problems start. On a multi-room loss that crosses floors and building eras, coordinated structural drying is the engine that ties the whole sequence together.
Water Damage Restoration, Step by Step
- 1
Safety and source control
Stop or isolate the water, avoid electrical and structural hazards, get the right plumber, roofer, or HVAC trade to the source, and photograph conditions when it is safe.
- 2
Inspection and moisture mapping
Identify the source, the water category, and every affected room, cavity, and material, flagging historic and high-value finishes before anything is opened.
- 3
Extraction and contents protection
Remove standing water, then protect or relocate furniture, books, artwork, and records, and start a written contents inventory.
- 4
Selective demolition
Open only what the readings and access require, weighing category, duration, material type, and historic value instead of removing every wet surface.
- 5
Structural drying
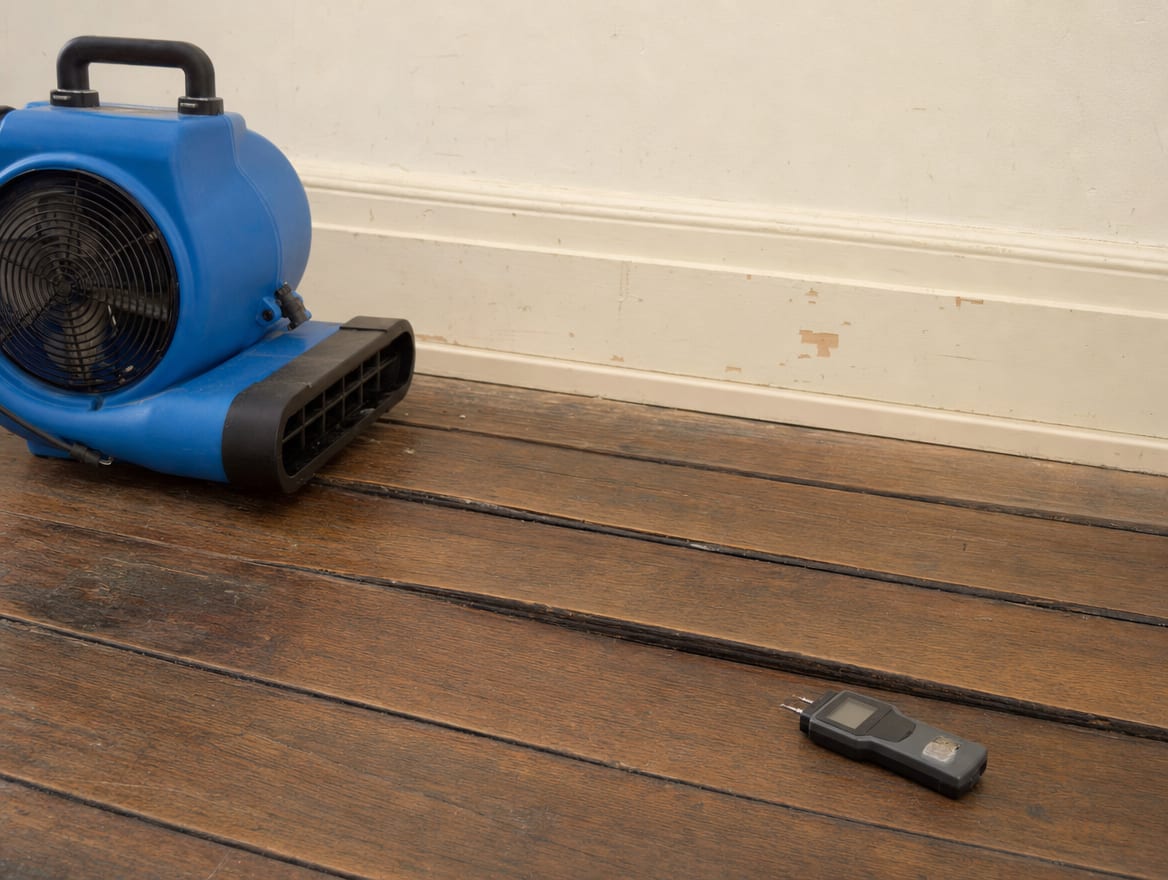
Place air movers, dehumidifiers, and cavity or floor drying systems, then monitor and adjust as materials respond, logging readings along the way.
- 6
Mold evaluation when drying was delayed
If materials stayed wet, inspect for growth and odor and add remediation where the evidence supports it.
- 7
Verification and reconstruction
Confirm and document dryness, complete source repairs, then rebuild only what has been proven dry.
On the drying step, one point deserves emphasis. The EPA guidance to dry wet materials within 24 to 48 hours is a target, not a guarantee that every assembly can be fully dried in that window. Thick masonry, dense plaster, and layered floor systems can take longer, which is exactly why monitoring and logging matter more than a promise of a fixed timeline.
When Contents and Conservation Need a Specialist
In many Princeton homes, the contents are part of the value. Books, archives, artwork, rugs, and electronics can be worth more than the finishes around them, and they need their own triage during the response. The rule is simple: document first, act fast, and move the highest-risk items out of the wet zone before deciding their fate.
Contents Triage After a Water Loss
Documents and books
Photograph them in place, then move wet paper out fast; a conservator may freeze items to buy time before controlled drying.
Artwork and framed pieces
Lift them off wet walls and floors, keep them flat, keep heat away, and let a conservator decide on any cleaning.
Rugs and textiles
Get them off wet hardwood so dyes cannot bleed into the floor, then send them for specialty cleaning and drying off-site.
Electronics
Power them down and do not switch on a wet unit; set it aside for professional evaluation.
Furniture and built-ins
Block pieces up off wet floors and separate what is salvageable from what is not before anything leaves the room.
Record before you discard
Keep photos and a written inventory of everything, because that record supports both insurance and conservation decisions.
Discarding contents before documenting them is a common and costly mistake. A photo and an inventory line take seconds and can protect both a claim and an irreplaceable item.
Why Drying Records Matter Before Reconstruction
The single most important document in a preservation-sensitive job is proof that the structure is actually dry. Drying logs, moisture readings, before-and-after photos, and a record of what was removed versus retained do two things. They tell the rebuild crew it is safe to close the walls back up, and they give an insurer a clear, defensible record of the loss.
That record is where a claim lives or dies. A restoration contractor cannot guarantee insurance coverage, because coverage depends on the policy, the cause of loss, exclusions, notice, and how quickly mitigation began. What a contractor can do is produce the documentation that supports the claim, which is the entire point of insurance restoration services. Homeowners policies generally treat an internal water discharge differently from external flooding, and flood damage usually needs separate flood coverage, so the paperwork that ties the damage to its cause is worth as much as the drying equipment itself. Rebuilding before dryness is documented is how a repaired home becomes a repeat repair.
Permits and Historic Review for Exterior Repairs
Emergency extraction and interior drying generally do not require the same approvals as construction work. Once repairs move into plumbing, electrical, HVAC replacement, structural work, roofing, masonry, or new drywall and flooring, Princeton permits and appropriately licensed trades may come into play, and the exact requirements should be confirmed with the town's construction department.
There is an extra layer for historic properties. Exterior work in a designated historic district can trigger Historic Preservation Commission review, especially for visible roofing, masonry, windows, vents, and mechanical changes. That does not slow the emergency drying, which is interior and time-sensitive, but it does shape the exterior repair that fixes the original source. Planning for that review early keeps the source repair from stalling after the interior is already dry. Older homes may also carry lead paint or asbestos in plaster, flooring, or pipe insulation, and any demolition that could disturb those materials calls for proper handling.
Rebuilding Without Trapping Moisture
The rebuild is where a rushed job undoes all the careful drying. New finishes installed over a cavity that is still damp will trap that moisture, and within a season you can be back to stains, odors, and mold in a wall that looked finished. This is why documented dryness comes before reconstruction, not after.
Done right, the rebuild matches the house. In a historic interior that means replastering rather than defaulting to drywall where plaster belongs, resetting saved millwork, and refinishing hardwood that came through the drying. In the modern addition it means standard drywall, insulation, and flooring. Coordinated post-water damage reconstruction keeps the drying crew, the trades, and the finish work under one plan, so the person who verified the structure is dry is connected to the person closing the walls. That continuity is what protects both the repair and the character of a Princeton home.
Frequently Asked Questions
What should I do first?
Stop the source if you can do it safely, stay away from electrical hazards and sagging ceilings, and contact the right repair trade for the source, whether that is a plumber, roofer, or HVAC contractor. Begin reasonable mitigation and photograph the visible damage. Getting water off materials quickly is the single best thing you can do for salvageability.
How quickly can mold become a concern?
The EPA recommends drying water-damaged materials within 24 to 48 hours when possible, because mold can grow while materials stay damp. Treat that window as a target rather than a guarantee, since dense or layered materials can take longer to dry and still need close monitoring.
Can plaster be saved?
Sometimes. The decision depends on the water category, how long the plaster stayed wet, whether it still adheres to the lath, contamination, and whether it can actually be dried. Original plaster is worth evaluating rather than removing on sight, which is exactly what moisture mapping helps you decide.
Can hardwood floors be saved?
Sometimes. Construction, finish, subfloor moisture, cupping, contamination, and how the wood responds to drying all determine salvageability. Specialty floor drying systems save more hardwood than people expect, but badly cupped or contaminated boards may still need replacement.
Do all wet walls need removal?
No. Removal depends on the material, the water category, the moisture readings, access needed for drying, and contamination. Many wet walls can be dried in place or opened selectively, and a blanket plan to demolish every wet wall is a red flag in a proposal.
Will insurance cover the loss?
Coverage depends on your policy and the cause of the loss, and a restoration contractor cannot guarantee coverage. What a good contractor provides is thorough documentation, including photos, moisture maps, drying logs, and a clear record of the source, which is what supports the claim your insurer ultimately decides.
Final Thoughts
Water damage in a Princeton home is rarely a single-material problem. One leak can wet plaster, masonry, hardwood, custom millwork, and a modern addition in one afternoon, and each of those wants a different answer. The work that protects the home is not the fastest demolition. It is fast extraction paired with careful mapping, selective opening, specialist drying, honest salvage calls, and documentation that proves the structure is dry before anyone rebuilds.
Get that sequence right and you keep what makes the property valuable while still stopping the damage cold. Get it wrong, by either tearing out too much or drying too little, and you either lose irreplaceable materials or invite the problem back. When you want a preservation-minded response to a water loss, ExecPro Restoration & Cleaning is ready to help. Call ExecPro Restoration & Cleaning at (888) 300-3772 or reach out through our contact page, and our team will help you dry and restore your Princeton property without destroying what makes it worth saving.
Water Damage Restoration Terms
Tap a term to see what it means.
Moisture mapping. Using moisture meters and thermal imaging to find the true extent of water inside walls, floors, and cavities before any demolition.
Serving Princeton
ExecPro Restoration & Cleaning provides mold remediation services in Princeton, NJ, from inspection and testing through removal, drying, and post-remediation verification. Call (888) 300-3772 for 24/7 emergency response.
Related Articles
Water Damage Restoration in Deal NJ: Stabilize Now, Rebuild Later
A leak in a closed Deal, NJ shore home can hide for weeks. See how coastal water damage gets stabilized, dried, and documented before any high-value rebuild.
Water Crossed the Property Line: Restoration in Princeton Junction NJ
In Princeton Junction's commuter households, a supply-line leak can run for hours and cross floors, finished basements, and shared walls before anyone is home.
Water Damage Restoration in Robbinsville, NJ: Creek Water, Pipe Water and the Claim File
Where a leak or flood begins decides what can be kept. See how water damage restoration in Robbinsville, NJ sorts pipe water from creek water and the claim.