Water Crossed the Property Line: Restoration in Princeton Junction NJ
Cal HewittPublished
- water damage restoration
- water damage
- restoration
- new jersey
- princeton junction
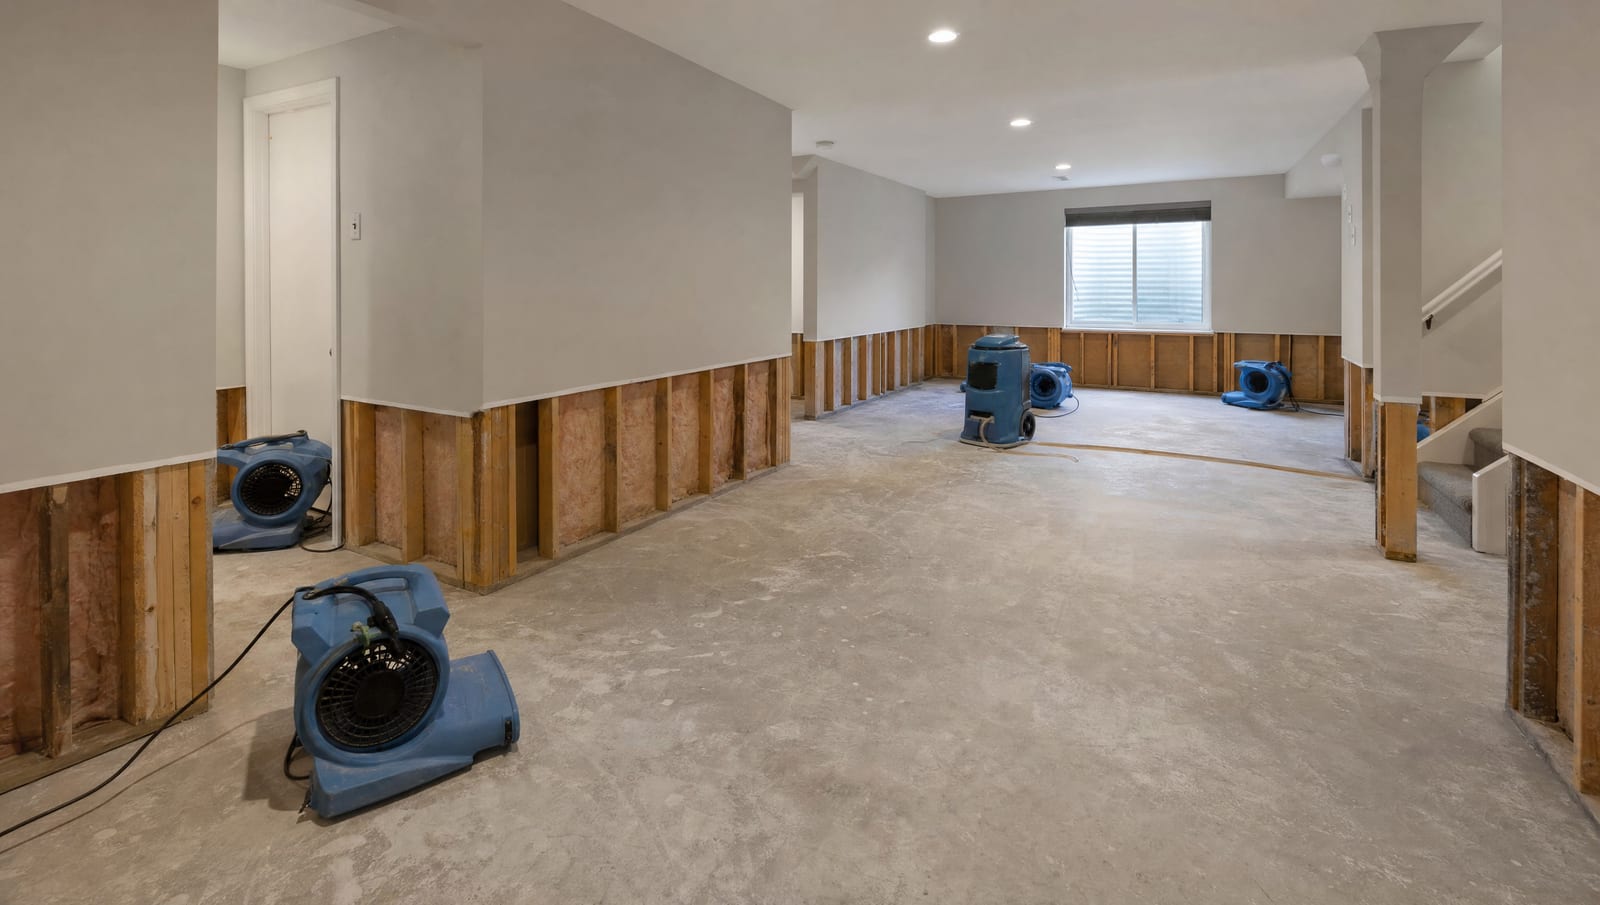
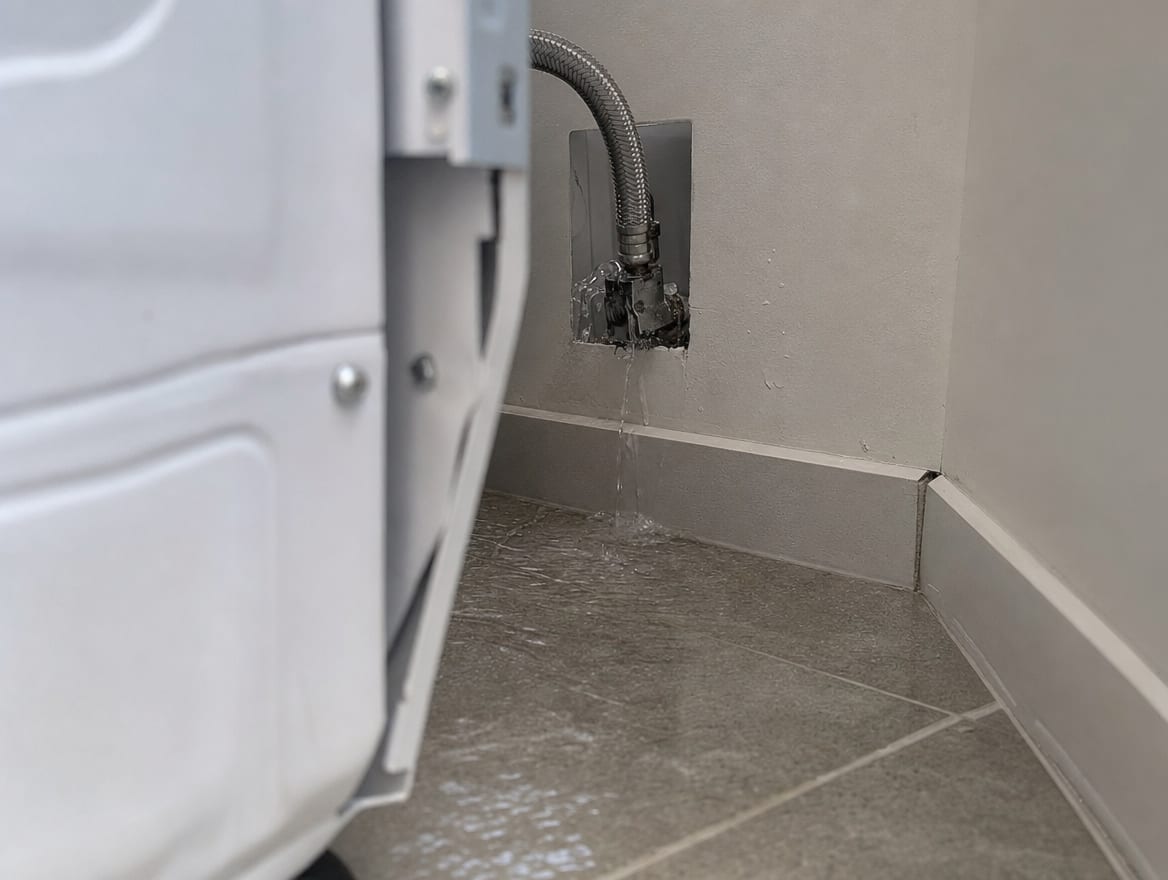
Picture a townhouse near the Princeton Junction station on an ordinary Tuesday. Both adults caught the early train into the city, the kids are at school, and nobody will walk back through the door until evening. Sometime mid-morning, a hose behind the second-floor washing machine lets go. For the next eight hours, water runs down through the floor, into the ceiling of the room below, along the framing, and finally into the finished basement. By the time someone comes home, the loss is not in one room anymore. It has crossed floors, reached the lowest level of the house, and may have soaked into the wall the home shares with the unit next door.
That is the pattern that makes water damage in Princeton Junction its own kind of problem. This is a commuter community built around the Northeast Corridor rail station, full of dual-income households that are away all day and sometimes away for days at a time. A supply line, a water heater, a dishwasher, or an HVAC drain can fail with nobody home to hear it. And a lot of the housing here is exactly the kind where water travels the farthest: multi-level subdivisions with finished basements, plus townhouses and condominiums where a single leak can reach a neighbor's space. When water does not stay in one room or one ownership area, the job is no longer about mopping up. It is about tracing where the water went, drying every place it landed, and documenting all of it before anything gets rebuilt. This guide walks through that full process through the Princeton Junction lens.
Why Delayed Discovery Changes the Whole Job
The single biggest factor in a Princeton Junction water loss is often time. When a pipe bursts while you are standing in the kitchen, you shut the valve and the damage stays small. When the same pipe fails at 9 a.m. in an empty house, the water has hours to spread before anyone notices.
That delay does two things. First, it lets water reach places a quick response never would, moving down through floor cavities, along utility chases, and into the finished basement that so many area homes have. Second, it starts the clock on mold. The EPA advises drying water-damaged materials within 24 to 48 hours when possible to limit mold growth. That window is a target to aim for, not a guarantee, and a loss that ran unseen for most of a workday may already be deep into it before the first towel comes out.
This is why the discovery time matters so much and why a restoration team will ask about it right away. A leak found in ten minutes and a leak found after a full day at the office are not the same job, even if the source pipe is identical. The second one calls for a wider search, more drying equipment, and a closer look for hidden moisture and early mold.
How Water Moves Through Floors, Walls, and Shared Spaces
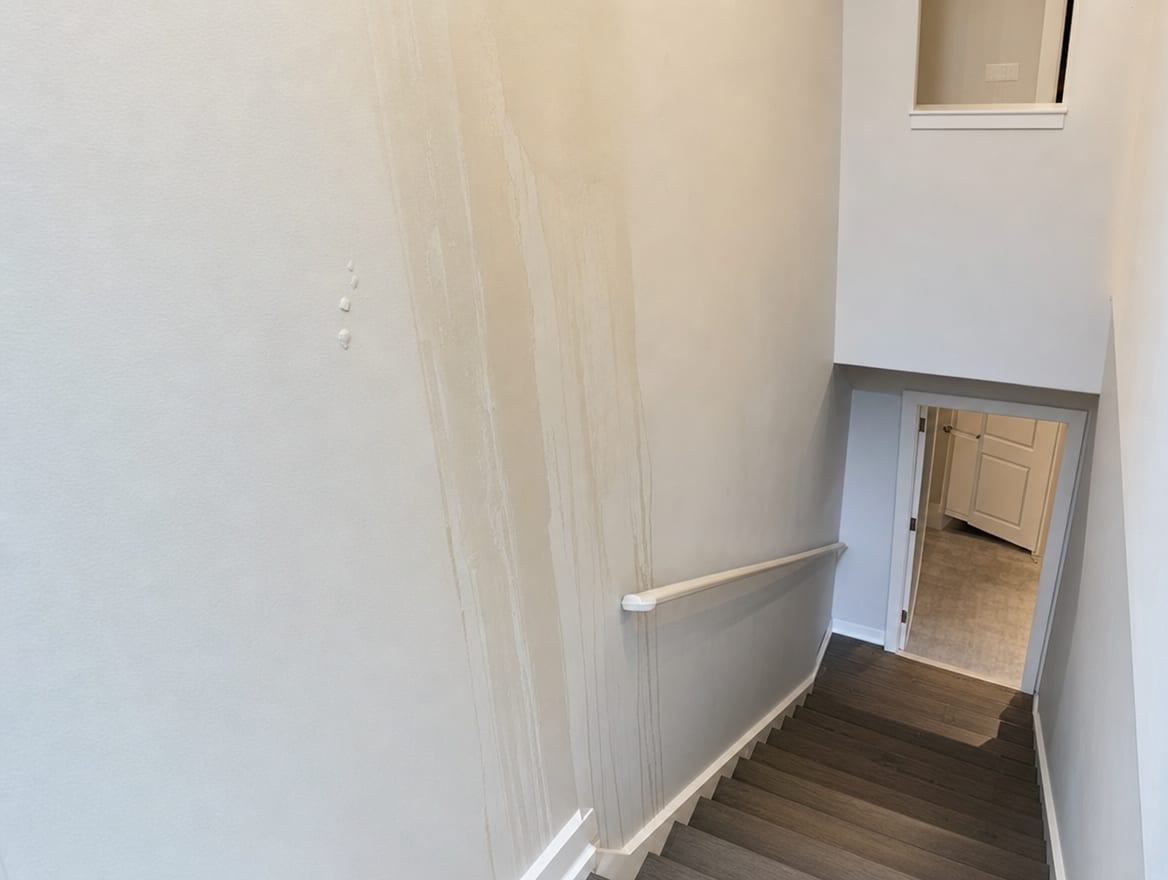
Water follows gravity and the path of least resistance, and in a multi-level home that path can be long. From an upstairs source, water can run through the subfloor, drop into the ceiling below, travel along framing members, wick into wall cavities, and pool in the lowest finished space before the full picture is visible. The stain you see on a ceiling is often nowhere near where the water actually entered.
Townhouses and condominiums add a second complication: the property line runs through the middle of the building. Water can cross a party wall, move through a shared ceiling or common chase, or reach an adjacent unit entirely. Some of the systems involved, such as exterior drainage, roofs, foundations, and certain plumbing components, may be controlled by the homeowners association rather than the individual owner.
Older village-area homes near the historic rail station behave differently again. Plaster, masonry, and older hardwood respond to water in their own way, and a wet plaster wall does not always need the same treatment as saturated modern drywall. Newer subdivisions and renovated homes can hide water behind tight modern finishes, cabinetry, and large wall assemblies, where snug construction actually slows drying if the cavities are never opened. The takeaway is simple: the search for water has to follow the building, not just the room where you first noticed a problem.
The First Hour After You Find Water
Stop or isolate the source
If it is safe, shut off the main water supply or the fixture valve so no more water enters the building.
Stay clear of electrical hazards
Do not step into standing water near outlets, switches, or appliances, and do not run electronics in wet areas.
Watch for sagging ceilings
A bulging or dripping ceiling can hold a lot of weight; keep people out from under it until it is checked.
Call the right trade
Reach the plumber, roofer, HVAC contractor, or utility that fits the source of the water.
Photograph everything
Take clear photos and video of the water, the source, and the damaged areas before anything is moved or cleaned.
Notify who needs to know
Depending on the property, that may be your insurer, the HOA or condo association, a landlord, or a property manager.
Move what you safely can
Lift small valuables, rugs, and electronics out of the water only if it is safe to reach them.
Moisture Mapping That Crosses Room and Unit Boundaries
Once the source is controlled, the work starts with finding every place the water reached. This is moisture mapping, and in a Princeton Junction multi-level or shared-wall property it cannot stop at the room where the leak showed up.
A restoration team uses moisture meters and thermal imaging cameras to read what the eye cannot see. Thermal imaging can reveal cool, damp areas inside walls, ceilings, and floors without tearing anything open, and moisture meters confirm how wet a given material actually is. The goal is a full map of the loss: which rooms, which floors, which wall cavities, which insulation, and which flooring is holding water, plus whether shared walls, adjacent units, or common systems are involved.
This is also where a professional job separates itself from a quick cleanup. One of the most common and costly mistakes is stopping the visible leak while hidden materials stay wet. Surfaces like paint, flooring, and drywall can feel dry to the touch while the cavity, subfloor, or insulation behind them is still soaked. Mapping the whole path, including across unit boundaries where the building allows access, is what makes the rest of the plan accurate.
Water Category: What You Are Actually Dealing With
Not all water is the same, and the category of water drives many of the decisions that follow. A clean supply-line leak is very different from groundwater, stormwater, sewage, or water that has been sitting long enough to grow contaminated. The category affects what can be saved, what has to be removed, and what protective steps the crew needs to take.
In Princeton Junction, the source can point to the likely category. A dishwasher or toilet supply line usually starts as cleaner water. Heavy rain, a drainage backup, or a sump-pump failure can bring in water that has crossed soil or drains. Flood exposure here varies by parcel, since the area includes stream corridors and mapped flood-hazard zones but not every property sits in one, so the source and the site both matter. A loss that ran for hours before discovery can also shift toward a dirtier category simply because the water sat. Getting this right early shapes the entire scope, which is why a good team documents the source, the likely category, and the duration before deciding what to remove.
Drying vs. Removal: What Can Be Saved
A frequent misunderstanding is that everything wet has to come out. That is not true, and neither is the opposite belief that everything can be saved. The right answer is decided material by material, based on the water category, how long the material stayed wet, what the material is, the moisture readings, whether it can be cleaned, and whether drying equipment can reach it.
Wet materials are not removed automatically, and they are not all rescued either. Selective demolition means opening or removing only what needs to go, both to protect what can be dried and to give the drying equipment access to hidden cavities. Older properties add a wrinkle here: demolition in an older home can disturb lead paint or asbestos-containing materials, so suspect materials call for extra care.
Hover or tap a row to highlight it.
| Material | Often dried in place | Often removed |
|---|---|---|
| Solid hardwood flooring | Clean water, caught early, limited cupping, good subfloor readings | Heavy cupping, contaminated water, or trapped subfloor moisture |
| Modern drywall | Small, clean, quickly caught wet areas | Saturated, contaminated, or crumbling sections |
| Older plaster | Sound plaster with a limited wet area | Delaminated, contaminated, or structurally compromised areas |
| Insulation | Rarely; it holds water against framing | Saturated batts or blown-in insulation in the wet zone |
| Carpet and pad | Carpet sometimes, after extraction and drying | Pad after a soak, or carpet in contaminated water |
| Cabinetry and millwork | Solid units with limited, clean exposure | Swollen, delaminated, or contaminated units |
Think of this as a starting framework, not a verdict. The final call on any single item comes from the readings and the condition on site, not from a chart. When active water is still present, the priority is fast emergency water extraction to pull out standing water before it does more damage, and when a failed supply line or frozen pipe is the source, burst pipe cleanup targets that specific kind of fast, high-volume loss.
Documentation Before Anything Is Removed
Here is a rule worth remembering: photograph and record before you remove. Once wet drywall is torn out or soaked carpet is hauled away, the evidence of what happened goes with it. On a claim, that record can matter a great deal.
Before materials come out, a strong file captures the date and time of the loss and of discovery, the weather leading up to it, photos and video, the source-repair report, the moisture maps, and a contents inventory. In a townhouse or condo, it also captures any correspondence with the association, the landlord, or the neighbor, plus records of any adjacent unit that was affected. A contractor can build this file and document conditions, but a contractor cannot decide who is legally responsible in a shared building, and a contractor cannot guarantee that your insurance will cover the loss. Coverage depends on your policy, the cause, your notice to the insurer, and other terms, and homeowners policies generally treat an internal water discharge differently from external flooding, which usually needs separate flood insurance.
What a restoration team can do is make the record thorough and clear. That is often the difference between a smooth claim and a dispute, and it is exactly where insurance restoration services support the property owner, by keeping the documentation organized and complete alongside the physical work.
When Adjacent-Unit or Shared-System Access Is Needed
In a detached subdivision home, the whole loss sits inside your own walls. In a Princeton Junction townhouse or condo, it may not. When water crosses a party wall or moves through a shared ceiling or chase, drying the job correctly can require access to the neighboring unit or to a common area.
This is one of the mistakes the dossier warns about: ignoring adjacent units or common systems. If water crossed into a shared wall and only your side is dried, moisture can sit on the other side and keep feeding damage and mold. Reaching a complete drying result may mean coordinating access next door, working with the association on common components, and keeping the property manager informed. None of this is about deciding whose fault it is. It is about making sure the drying covers the entire wet area, wherever the building carried the water.
Structural Drying: Pulling Moisture Back Out
After extraction and any selective demolition, the building has to be dried down to a documented standard, not just until it feels dry. This is structural drying, and it uses air movers, dehumidifiers, cavity and floor drying systems, and controlled heat when appropriate, all guided by repeated moisture readings and adjusted as materials respond.
Household fans alone do not do this. Moving air without controlling humidity can spread moisture around without actually removing it from the building, which is another common misstep. Professional structural drying pairs airflow with dehumidification so the water leaves the structure instead of migrating to a new cavity. The team logs readings over several visits and adjusts equipment as the framing, subfloor, and insulation give up their moisture. Timing depends on the source, the volume, how many rooms or floors or units are involved, the contents, and how the materials respond, so there is no single duration that fits every Princeton Junction home.
The Water Damage Restoration Process, Start to Finish
- 1
Safety and source control
Stop or isolate the water, avoid electrical and structural hazards, and bring in the right repair trade.
- 2
Inspection and moisture mapping
Identify the source, category, and duration, then map every affected room, floor, cavity, and any shared wall or adjacent unit.
- 3
Extraction and contents protection
Remove standing water, protect or relocate furniture and belongings, and start a contents inventory.
- 4
Selective demolition
Open or remove only the materials that need to go, based on category, moisture readings, condition, and drying access.
- 5
Structural drying
Run air movers and dehumidifiers, dry hidden cavities, and monitor moisture with repeated readings until materials reach dry standard.
- 6
Mold evaluation when drying was delayed
If materials stayed wet, check for growth, odors, and hidden contamination and add remediation when the evidence supports it.
- 7
Verification and reconstruction
Confirm and document that everything is dry, then rebuild the finishes that were removed.
When Mold Becomes Part of the Job
A water loss that is found and dried fast may never involve mold. A loss that ran unseen through a commuter's workday is a different story. When materials stayed wet past that 24-to-48-hour target, the job may need a mold step layered on top of the drying.
That step means inspecting for visible growth, musty odors, and hidden contamination, then adding containment, HEPA cleaning, and removal where the evidence supports it. It is not automatic, and it should not be assumed either way. If drying was delayed and there is no check for mold, a real problem can be sealed inside the wall during the rebuild. If mold is found, the remediation is folded into the same project rather than handed off to a separate crew, which keeps the drying, the removal, and the cleanup working from one plan.
Proving It Is Dry Before the Rebuild
The last mistake, and one of the most expensive, is rebuilding before the structure is documented as dry. New drywall, flooring, and paint installed over a wet cavity can trap moisture, and that trapped moisture can create repeat damage and new mold behind a wall that looks finished. In a high-value commuter market like Princeton Junction, where homes trade often, that kind of hidden repeat damage can also surface later in a sale.
Before any rebuild starts, the file should show that drying is complete to standard, which materials were removed and which were kept, that the source was repaired, that any needed mold work is done, and that the affected trades, such as plumbing, electrical, HVAC, and roofing, have cleared their parts. In a shared building it should also show the status of any adjacent unit or common area. Only then does reconstruction begin. Once the verification is in hand, post-water damage reconstruction rebuilds the drywall, flooring, cabinetry, trim, and finishes so the home returns to its pre-loss condition, this time over materials that are confirmed dry.
Frequently Asked Questions
What should I do first when I find water?
Stop the source if it is safe to do so, and shut off the main water supply if a pipe has failed. Stay away from electrical hazards and any sagging ceiling, contact the repair trade that fits the source, and begin safe mitigation. Photograph and video the damage before anything is moved, and notify your insurer, and your association or landlord if the property is shared.
How quickly can mold become a concern?
The EPA recommends drying water-damaged materials within 24 to 48 hours when possible, because mold can grow while materials stay damp. That window is a target to aim for, not a guarantee. A leak that ran for hours in an empty house may already be inside that window when it is discovered, which is one reason delayed-discovery losses get a closer look for hidden moisture and early growth.
Can hardwood floors be saved after a water loss?
Sometimes. It depends on the type of construction, the finish, how much moisture reached the subfloor, whether the boards have cupped, whether the water was contaminated, and how the wood responds to drying. Some hardwood can be dried and kept, and some cannot. Moisture readings and the condition on site decide it, not a general rule.
Do all wet walls need to be removed?
No. Whether a wall comes out depends on the material, the water category, the moisture readings, how accessible it is for drying, whether it is contaminated, and whether it can realistically be dried in place. A sound plaster wall with a limited wet area may be dried, while saturated or contaminated drywall may need to be removed. The point of moisture mapping is to make that call accurately instead of guessing.
Who is responsible in a townhouse or condominium?
That depends on the governing documents, the source of the water, maintenance obligations, and the insurance in place. Common plumbing, exterior drainage, roofs, party walls, and shared mechanical systems are often association responsibilities, while interior components are often the owner's. A restoration contractor should document the conditions but should not make the legal determination of who is responsible.
Will my insurance cover the loss?
It depends on your policy and the cause of the loss. Homeowners policies generally treat a sudden internal water discharge, such as a burst supply line, differently from external flooding, which usually requires a separate flood policy, and factors like prompt notice, mitigation, and maintenance can matter. A restoration contractor can provide thorough documentation to support your claim, but a contractor cannot guarantee that your insurer will cover it. Reviewing your specific policy with your insurer is the right first step.
Get a Clear Plan for Your Princeton Junction Water Loss
When water has crossed floors, reached a finished basement, or moved into a shared wall, the difference between a clean recovery and a lingering problem is a team that traces the whole path, dries it to a documented standard, and records every step before the rebuild. ExecPro Restoration & Cleaning handles that full scope for Princeton Junction and the surrounding West Windsor area, from emergency extraction and structural drying through moisture verification and reconstruction. If you have a water loss now or want to understand your options, call ExecPro Restoration & Cleaning at (888) 300-3772 or reach out through the contact form to get a clear plan and fast answers.
Water Damage Terms to Know
Tap a term to see what it means.
Water category. A classification of how clean or contaminated the water is, from a clean supply line to grossly contaminated sources, which shapes what can be saved and how the work is handled.
Serving Princeton Junction
ExecPro Restoration & Cleaning provides mold remediation services in Princeton Junction, NJ, from inspection and testing through removal, drying, and post-remediation verification. Call (888) 300-3772 for 24/7 emergency response.
Related Articles
Water Damage Restoration in Deal NJ: Stabilize Now, Rebuild Later
A leak in a closed Deal, NJ shore home can hide for weeks. See how coastal water damage gets stabilized, dried, and documented before any high-value rebuild.
Dry It Without Destroying It: Water Damage Restoration in Princeton NJ
A roof or plumbing leak in a historic Princeton home soaks plaster, hardwood, and millwork. Here is how to dry and restore it without destroying what matters.
Water Damage Restoration in Robbinsville, NJ: Creek Water, Pipe Water and the Claim File
Where a leak or flood begins decides what can be kept. See how water damage restoration in Robbinsville, NJ sorts pipe water from creek water and the claim.