Post-Mold Remediation Rebuild in Princeton, NJ: A Preservation-Aware Plan for Older Homes
Cal HewittPublished
- post mold remediation rebuild
- build back
- mold remediation
- historic homes
- new jersey
- princeton
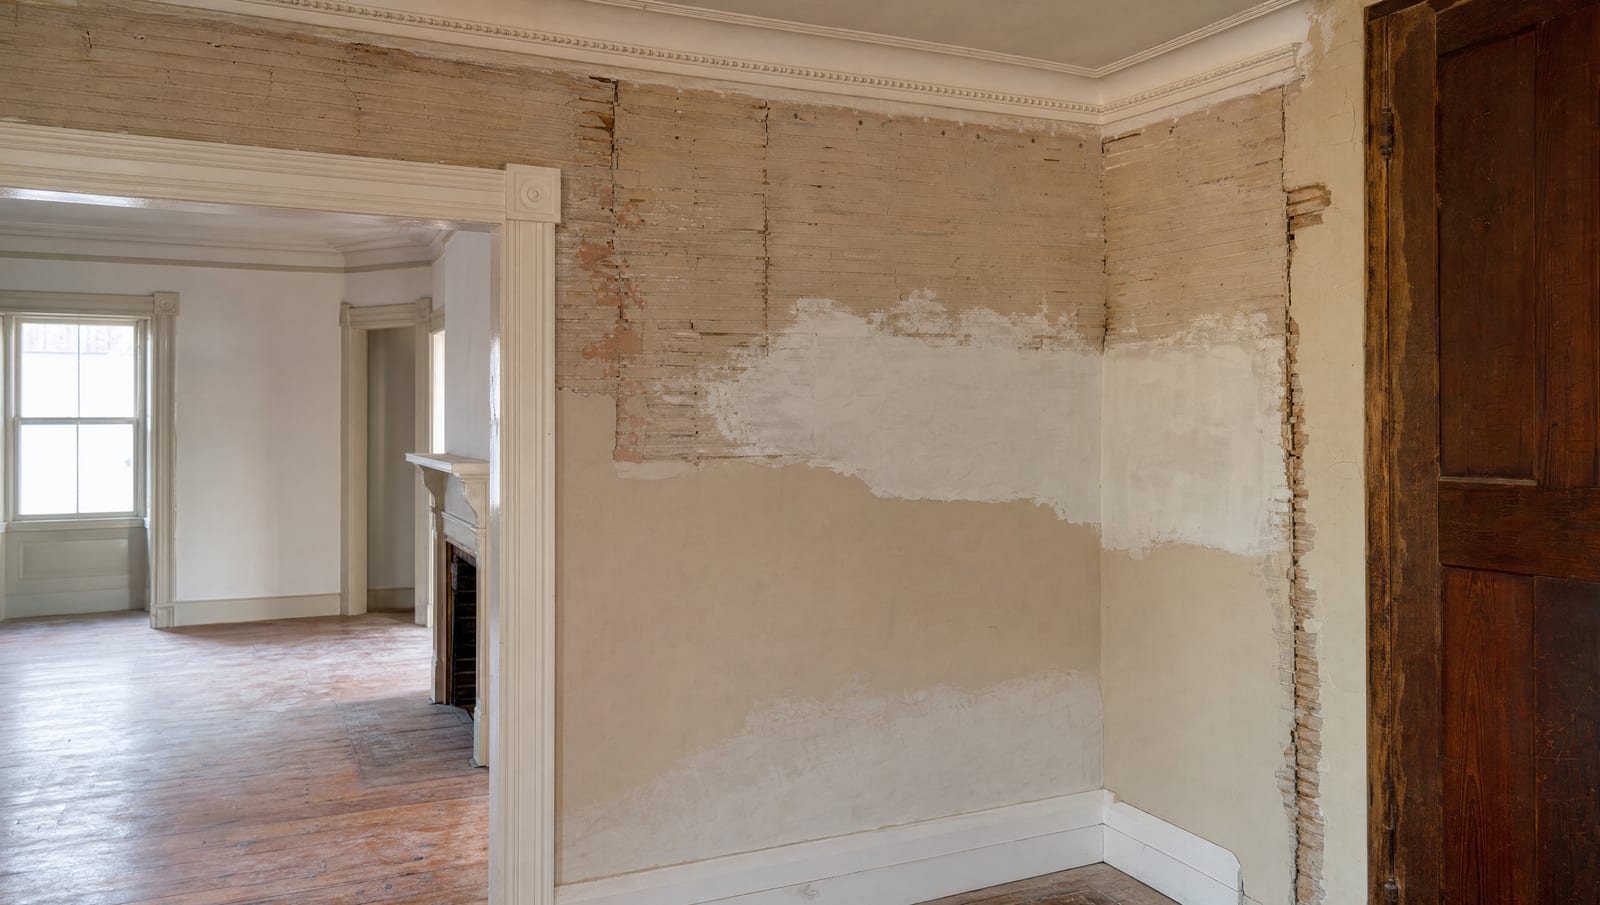
The hard part is over. The mold is gone, the wet materials have been removed, and the room that caused so much worry is finally quiet. Now you are standing in a space stripped back to framing, and a different question takes over. How do you put an older Princeton home back together so it looks like itself again, holds up over time, and does not simply set the stage for the same problem to return?
This is the rebuild phase, sometimes called build-back, and it deserves its own careful plan. In many parts of Princeton the buildings are older, with plaster walls, wood trim, millwork, and flooring that give a home its character. Those details are worth protecting. At the same time, an older building can hide regulated materials like lead paint or asbestos, and some properties sit inside areas where extra review applies before construction begins. A thoughtful rebuild coordinates all of it: confirming the space is truly clean and dry, reviewing what might be disturbed, handling permits and any preservation requirements, and restoring finishes in a way that respects the original home without trapping moisture behind new walls.
Restoring Historic Character After Remediation
Document the originals
Photograph and measure existing trim, plaster profiles, moldings, and flooring before anything is opened up, so the details can be matched or reproduced later.
Salvage and replicate plaster and trim
Save sound original materials where you can, and reproduce plaster profiles and millwork to match rather than swapping in generic stock.
Check for regulated materials
In older buildings, review for lead paint and asbestos before construction so any disturbance is handled by the right qualified people.
Verify dryness first
Only rebuild after moisture readings confirm the assembly is dry and any required clearance is complete.
Use moisture-safe assemblies
Rebuild wall, floor, and insulation details in a way that lets the structure manage moisture instead of sealing dampness inside.
Review permits and preservation
Confirm building permits and any historic-preservation requirements with the municipality before work that needs them.
Walk through at the end
Compare the finished restoration against the documented originals and the agreed scope before calling the job done.
Why the rebuild deserves its own plan
It is tempting to treat reconstruction as the easy stretch at the end. The demolition is finished, so surely you just close the walls back up. In an older home, that instinct is exactly what leads to trouble. Rebuilding well is not about speed. It is about doing the closing steps in the right order so the finished space is clean, dry, code-compliant, and true to the building.
The single most important rule is simple. You only rebuild after the space is verified clean and dry. Closing a wall over damp framing hides the moisture instead of solving it, and hidden moisture is how a mold problem quietly restarts. The EPA's guidance on mold and moisture is consistent on this point: controlling moisture is the reliable way to control mold. So the rebuild plan starts not with materials or finishes, but with confirmation that the earlier work actually reached the standard it was supposed to.
That confirmation matters even more in a preservation-minded rebuild, because the finishes going back in are often more involved than standard drywall and paint. You do not want to invest in matched plaster and restored trim only to discover the assembly behind it was never fully dry.
Hover or tap a row to highlight it.
| Stage | What happens | Historic and permit note |
|---|---|---|
| Verify clearance | Confirm remediation is complete and the space meets the agreed clean standard, with verification when it was required | Do not begin finish work until this is settled |
| Regulated-material review | Review older assemblies for lead paint or asbestos before anything is cut or disturbed | Older buildings are the most likely to contain these materials |
| Permits and preservation | Confirm building permits and any historic-preservation requirements with the municipality | Covered properties may need review before certain work |
| Restoration | Rebuild structure and assemblies, then match plaster, trim, millwork, and flooring | Match originals where character matters, using moisture-safe details |
| Closeout | Final walkthrough plus records of what was corrected, dried, verified, and rebuilt | Keep documentation for insurance and future reference |
Start by confirming the space is clean and dry
Before a single new board goes up, the rebuild should begin with a clear answer to one question: is this space actually ready? That means the remediation is complete, the affected assemblies read dry on a moisture meter, and any post-remediation verification that was called for has been done and documented.
Verification is not required on every job, and testing should answer a defined question rather than serve as a box to check. When it is warranted, though, it gives everyone a documented baseline before finishes cover the work. If you want to understand how that confirmation step works, our overview of post-remediation verification walks through what it looks at and why the timing matters. The goal is straightforward. You want proof that the conditions which fed the mold have been corrected, not just that the visible growth was removed.
Dryness deserves special attention in older buildings. Thick plaster, masonry, and old-growth framing can hold moisture longer than modern materials, and a surface that feels dry to the touch is not the same as an assembly that is dry throughout. Confirming dryness at depth, not just on the surface, is what protects the restored finishes you are about to install.
Review regulated materials before you open anything up
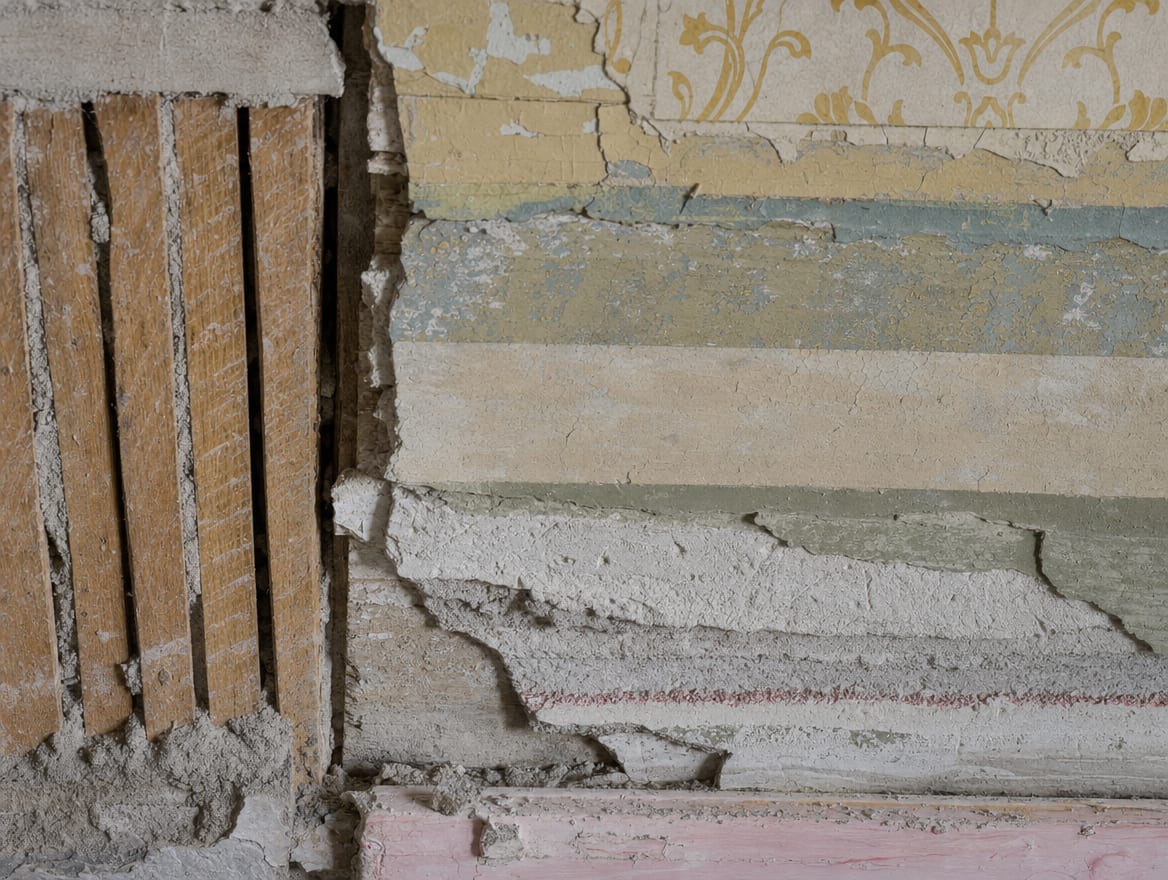
Older Princeton homes carry a specific consideration that newer construction usually does not. They may contain regulated materials, most commonly lead paint and asbestos, in places you cannot see from the surface. Lead was widely used in paint in older housing, and asbestos appeared in a range of building products over the years. Neither is necessarily a problem while it sits undisturbed, but rebuilding involves cutting, sanding, and removing materials, and that is exactly the kind of disturbance that requires care.
For that reason, a regulated-material review belongs early in the rebuild plan, before demolition or construction disturbs surfaces that were left in place. In older buildings this review is not an afterthought. It shapes how the work is done. Federal rules such as the EPA's Renovation, Repair, and Painting requirements address lead-safe work practices in older housing, and asbestos handling has its own separate requirements. The practical takeaway is that if regulated materials are present, the disturbance needs to be handled by qualified people following the applicable rules, not worked around casually because the schedule is tight.
This is one of the clearest reasons a preservation-aware rebuild moves deliberately. The same age that gives an older home its character is the age that makes this review necessary.
Confirm permits and any preservation requirements
Reconstruction after a mold loss can involve work that needs permits, and Princeton, like any New Jersey municipality, administers construction and zoning review under the state's Uniform Construction Code. Some properties also sit within areas where historic-preservation review applies, and Princeton maintains procedures for covered properties. Whether those apply to a specific address depends on the property and the scope of work, which is why the honest answer is always the same: confirm the requirements with the municipality before the work that needs them begins.
That confirmation covers a few things at once. It covers which building permits the reconstruction requires. It covers whether the property falls under historic-preservation review and, if so, what that review expects. And on some properties it can touch flood-related rules, since parts of New Jersey carry flood considerations that are checked at the parcel level rather than assumed for a whole town. No two properties should be treated as identical here. The right move is to verify with the authority having jurisdiction rather than guess.
For homeowners, this is less paperwork burden than it sounds when it is handled up front. Confirming the requirements early keeps the rebuild on solid footing and avoids the far worse situation of discovering a review requirement after finishes are already installed.
Preservation-Aware Rebuild, Step by Step
- 1
Verify clearance and dryness
Confirm remediation is complete, moisture readings show the assembly is dry, and any required verification is documented before finish work starts.
- 2
Document the existing character
Photograph and measure original plaster profiles, trim, millwork, and flooring so the details can be matched or reproduced.
- 3
Review regulated materials
Check older assemblies for lead paint or asbestos before demolition or construction disturbs them, and plan the work around the results.
- 4
Confirm permits and preservation review
Verify building permits and any historic-preservation or flood-related requirements with the municipality for this specific property.
- 5
Correct the source and rebuild the structure
Make sure the moisture defect that caused the loss is fixed, then rebuild framing, subfloor, and assemblies using moisture-safe details.
- 6
Restore finishes to match
Replicate plaster, trim, millwork, and flooring so the space reads like the original home rather than a generic patch.
- 7
Walk through and document closeout
Compare the finished work against the documented originals and the agreed scope, then retain the records.
Rebuild without trapping moisture
Here is the quiet failure that a rebuild is supposed to prevent. A room is closed up beautifully, the paint is fresh, and behind the finish sits a moisture problem that was never corrected or an assembly that cannot dry. Months later, the odor or staining returns, and the finish work has to come back out. A preservation-aware rebuild is built specifically to avoid that outcome.
Two things protect against it. The first is correcting the moisture source that caused the original loss. A rebuild that closes the wall without addressing the leak, the drainage issue, or the condensation pathway is treating the symptom and skipping the cause. The second is choosing moisture-safe assemblies, meaning the wall, floor, and insulation details are put back in a way that lets the structure manage moisture rather than sealing dampness inside. Older buildings in particular were designed to breathe in certain ways, and rebuilding them with modern materials calls for attention to how the new assembly handles moisture over time.
Matching the historic character sits right alongside this, not against it. You can restore original plaster profiles, wood trim, and flooring and still detail the assembly so it stays dry. The two goals work together when the rebuild is planned as one job instead of a race to close the walls. If your project involves rebuilding walls and finished surfaces, our overview of the full build-back services shows how reconstruction and finish restoration are handled as part of one coordinated scope.
Restore the character, not just the surface
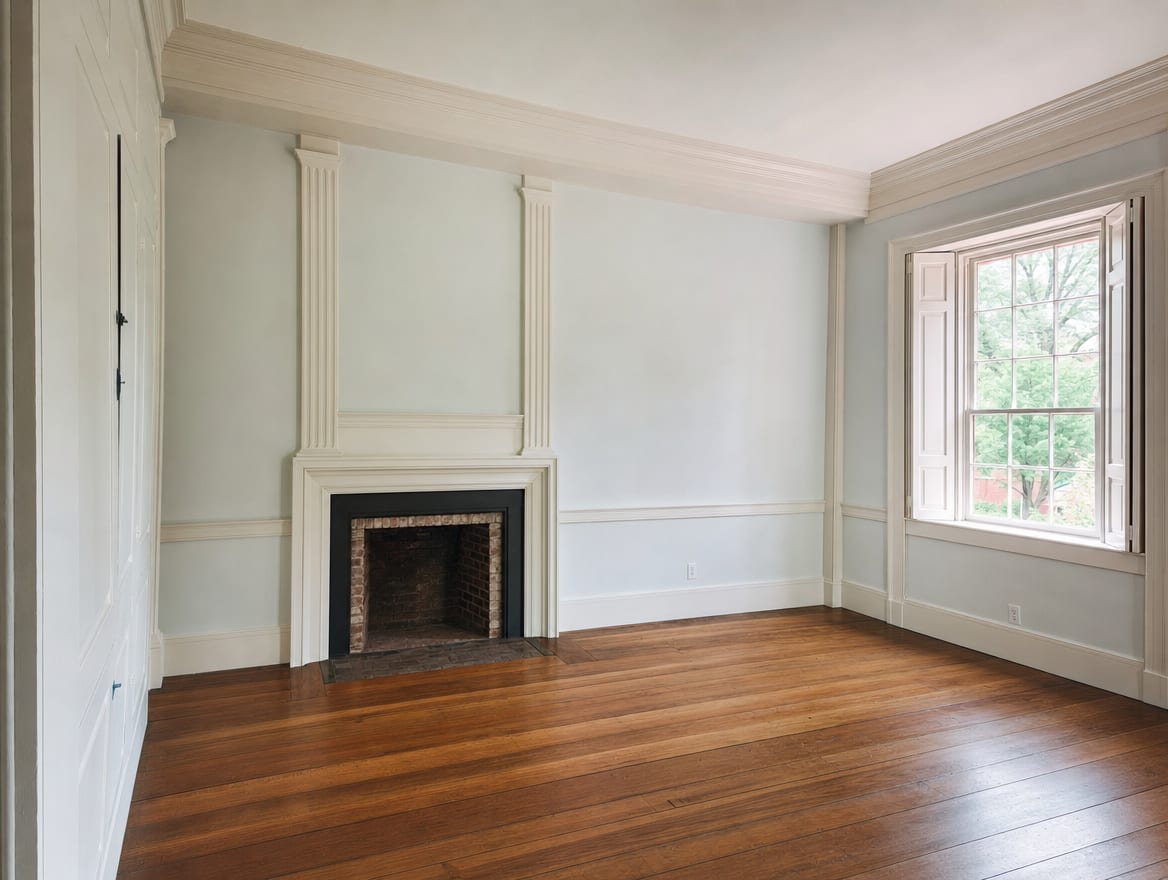
This is where a preservation-aware rebuild earns its name. In an older Princeton home, the details are the point. Plaster walls have a depth and texture that generic drywall does not replicate on its own. Trim and millwork carry profiles that were milled for that era. Flooring shows the character of its age. When those elements are damaged and removed, the restoration goal is to put back something that reads like the original home, not a patch that announces itself.
That starts with documentation. Before anything is opened up or removed, the original details should be photographed and, where useful, measured. Original plaster profiles, the shape of a trim run, the pattern of the flooring, all of it is easier to reproduce when it was recorded first. Where original materials are sound, salvaging and reusing them preserves the real thing. Where they cannot be saved, the aim is to replicate the profiles and finishes rather than substitute whatever is on the shelf.
None of this changes the earlier rules. Matched plaster still goes over a dry, cleared assembly. Restored trim still sits on a wall built to manage moisture. The finish restoration is the visible reward at the end of a sequence that quietly did the unglamorous work first. Done in that order, the room comes back looking like it belongs to the house, and it stays that way because the structure behind it was handled correctly. For homes that need the reconstruction and the character-matched finishes together, our post-mold remediation rebuild service is built around exactly this kind of coordinated build-back.
Close out with documentation
The last step is easy to overlook and genuinely useful later. A final walkthrough compares the finished restoration against the documented originals and the scope everyone agreed to, catching anything that needs a small correction before the job is called complete. Alongside that, keep the records: what was found, what was corrected, what was removed, the moisture readings that confirmed dryness, any verification reports, the permits, inspection results, and photos before and after.
These records matter for a few reasons. Insurance claims depend on documentation, and coverage decisions rest with the carrier under the policy and the documented cause, not on any promise a contractor can make. Records also help if the property is ever sold, since a clear account of what was done answers the questions a buyer or inspector will ask. And they give you, the owner, a straightforward reference for what is now behind your walls. Good closeout documentation turns a stressful event into a well-understood, well-recorded chapter in the home's history.
Frequently asked questions
Can you match the original plaster and trim in an older Princeton home?
That is the goal of a preservation-aware rebuild. Where original materials are sound, they can be salvaged and reused. Where they cannot be saved, the profiles and finishes can be replicated to match. Documenting the existing plaster profiles, trim, millwork, and flooring before removal is what makes accurate matching possible, so recording those details early is part of the plan.
Do you test for lead or asbestos before rebuilding?
Older buildings may contain regulated materials like lead paint or asbestos, so a regulated-material review belongs early in the rebuild, before demolition or construction disturbs surfaces. If these materials are present, the disturbance needs to be handled by qualified people following the applicable rules. This review is more relevant in older homes precisely because those materials were more common in older construction.
When can the rebuild actually start?
After the space is verified clean and dry. That means remediation is complete, moisture readings confirm the assembly is dry, and any post-remediation verification that was called for has been documented. Rebuilding before that point risks closing the walls over a problem that has not been fully resolved, which is the outcome the whole plan is designed to avoid.
Do historic-preservation rules apply to my property?
They may, depending on the property and the scope of work. Princeton administers construction and zoning review, and it maintains historic-preservation procedures for covered properties. Whether a specific address falls under that review is something to confirm with the municipality before starting work that would require it, rather than assuming one way or the other.
Will insurance cover the rebuild?
Coverage cannot be guaranteed by a contractor. Insurance decisions depend on the policy language, the cause of the loss, exclusions, notice, and documentation, and only the carrier can make that determination. What helps is thorough documentation of what was found, corrected, dried, verified, and rebuilt, which is why closeout records are part of a well-run rebuild.
What if my Princeton home was affected but sits in a flood-prone area?
Flood exposure is checked at the parcel level, not assumed for an entire town, so the right step is to verify the specific property's situation and any related municipal rules. If flood considerations apply, they can affect how the rebuild is handled. Confirming this with the authority having jurisdiction early keeps the project on solid ground.
When you are ready to plan a careful, preservation-aware rebuild for your older Princeton home, ExecPro Restoration & Cleaning can coordinate the full sequence, from confirming clearance and dryness through regulated-material review, permits, and matched finish restoration. We serve Princeton and the surrounding New Jersey communities, and we document the work so you have clear records to move forward with. You can get in touch with our team or call (888) 300-3772 to talk through your project.
Rebuild and Restoration Terms
Tap a term to see what it means.
Clearance. Confirmation that remediation is complete and the space meets the agreed clean standard, including post-remediation verification when it was required, before rebuilding begins.
Serving Princeton
ExecPro Restoration & Cleaning provides mold remediation services in Princeton, NJ, from inspection and testing through removal, drying, and post-remediation verification. Call (888) 300-3772 for 24/7 emergency response.
Related Articles
Where Remediation Ends and Construction Begins: Post-Mold Rebuild in Livingston, NJ
Containment comes down and a Livingston, NJ property stops being a remediation site and becomes a construction one. That handoff has its own rules.
Post-Mold Rebuild in Deal NJ: Planning the Build-Back Around the Summer Moratorium
After mold clears in a Deal NJ home, the build-back begins. Learn to schedule regulated construction around the summer moratorium and match high-value finishes.
Dry Before You Close: A Verified Rebuild Sequence for Finished Basements and Additions in Princeton Junction, NJ
After mold remediation in Princeton Junction NJ, rebuild too soon and new drywall traps moisture. Learn to verify dryness first, then build back to last.